Login
Login
Shipping Country
Super CLEARANCE CAMPAIGN - Selected tools and accessories with Super Special prices! - CHECK HERE
READ MORE
Login
A quality router bit is quite an investment, isn't it? That's why it's so frustrating when a project that started out perfectly starts to show burnt and frayed marks during the final strokes. The culprit is almost always the same: a dull blade. It no longer cuts cleanly, but tears and burns the wood. Sounds familiar? Frustrating, and above all, completely pointless.
The easiest reaction is of course to agonize, throw the blade in the scrapyard and order a new one. A high-quality carbide blade is not a disposable item. It is a precision tool that is designed to serve your workshop for a long time and reliably – as long as you take a little care of it.
In this guide, we won’t sell you new blades, but we’ll show you how to get the most out of your old ones. We’ll walk you through how to identify a dull blade before it ruins your work, how to sharpen it properly without expensive special equipment, and how to extend its life with simple maintenance and storage tips. This isn’t rocket science. It’s common sense that will save you money, produce cleaner results, and make your work safer. Let’s get to work! ;)
A professional learns to know the soul of their tools. When the familiar, steady hum of a router turns into a laborious howl or when a clean chip turns into fine dust, it's time to stop. A dull blade not only leaves an unsightly mark, it's a direct attack on both the bearings of your router and your own safety. Don't let it happen. Keep an eye out for these telltale signs:
 Save money, time and nerves – the benefits of sharpening
Many people fall for the easy but expensive solution: throw a dull blade in the scrap heap and dig around to buy a new one. Not only is it wasteful, it's also completely pointless. A quality router bit is designed to last, and its lifespan includes several sharpenings.
"A good blade is like an old friend in the workshop – it's worth taking care of. A little effort in maintenance pays for itself many times over in better workmanship and lower costs."
When you make sharpening a part of your routine, you will notice clear benefits:
No problem, you don't need your own grinder shop to sharpen your router bits. The job can be done with a few basic tools, as long as they are of good quality. Make sure you have the following tools in your workshop and you'll be well on your way:
 The sharpening process step by step – this is how you succeed
Follow these instructions and your blades will be as good as new again. Remember, patience is key – don’t rush or use too much force. Let the tools do the work.
One of the simplest, yet often overlooked, ways to keep your blades sharp is to clean them regularly. Especially when working with softwoods, a tough layer of resin and dirt builds up on the blade’s surface. This seemingly harmless layer is your blade’s worst enemy because it:
So make it a habit to always clean your blades at the end of the work day. Use a brass brush and a good tar remover. And never, ever, use a wire brush – that’s a surefire way to ruin the delicate cutting edge.
 Proper storage – protect your blade and fingers
What is the most common sin in the workshop? Throwing expensive milling cutters into the same box, rattling against each other and other tools. Although carbide is extremely hard, it is also brittle. Even a small impact against another cutter can cause a microscopic fracture in the edge, ruining the cutter and the work.
"Every bump between the blades is like a small nail in the coffin of sharpness. Protect your investment."
Fortunately, proper storage is easy. Here are a few foolproof solutions:
The biggest and most dangerous mistake is to continue working with a dull blade. "It's just one more groove" is a saying that has led to many a ruined workpiece and dangerous situation. A dull blade not only produces a wolf and a second, but it also significantly increases the risk of kickback. When the blade is not cutting, it tends to climb along the material and can throw the router or workpiece unpredictably. So don't take unnecessary risks - sharpen or replace the blade as soon as you notice the first signs of dullness.
Although sharpening is straightforward, it can also be a minefield. Here are the most common pitfalls and clear instructions for getting around them. Avoid these so you don't accidentally ruin a good blade.
Error: Sharpening the profile side
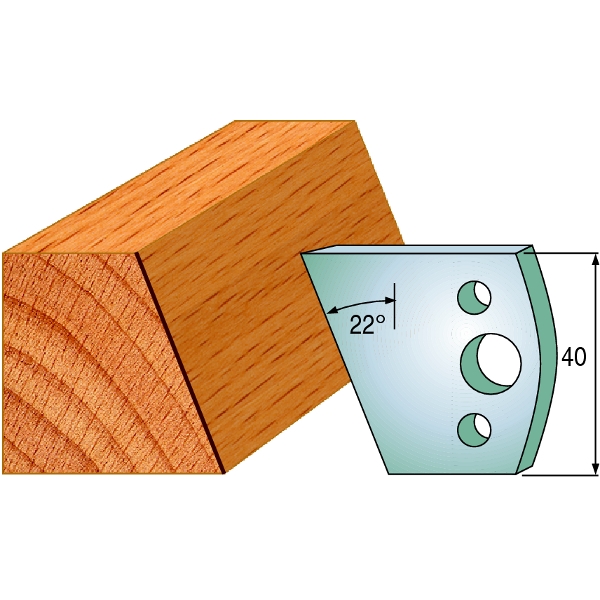
Why is it bad? This permanently changes the original geometry and size of the blade. A precisely shaped profile blade is no longer accurate, and the end result is random.
How do you avoid it? Always sharpen only the cutting, flat carbide surface. Leave the beautiful curves and shapes alone.
Error: Wrong sharpening angle
Why it's bad: If you don't follow the original angle, the blade will either not cut effectively or will dull faster.
How to avoid it? Always place the diamond file against a completely flat surface. Don't try to guess the angle, let the blade guide the file.
Error: Overheating during sharpening
Why is it bad? Excessive heat (especially during machine sharpening) can soften the carbide and ruin its hardening. The steel becomes soft and loses its shape.
How to avoid it? Use light pressure and take breaks to let the blade cool. This is rarely a problem when sharpening by hand.
Error: Uneven sharpening
Why is it bad? If the second cut of the blade is sharper or has removed more material, the blade is unbalanced and causing vibration.
How do you avoid that? Count your file strokes. Make exactly the same number of strokes on each cutting edge to keep the blade balanced.
Remember: a well-maintained blade is not just a tool, it is an investment in quality and safe work. Take care of it, and it will take care of the work.
Signs of a dull blade include burn marks appearing on the wood, increased feed resistance, a torn and frayed finish, and a changed, laborious sound from the machine. In addition, the edge of a dull blade reflects light and shows a clear, shiny line.
Sharpening saves money compared to buying a new blade, improves the quality of your work, and extends the life of your router by reducing the load on the motor. It is also a more environmentally friendly choice that extends the life of a quality tool.
For sharpening, you will need diamond files or whetstones (preferably several grits), a brass brush and resin remover for cleaning, and safety glasses and work gloves. A sharpening jig is a recommended tool to help maintain the right angle.
The blade is first cleaned of tar and dirt. Sharpening is done by grinding only the cutting, flat surface with a diamond file – the profile side should never be sharpened. The file is pushed towards the edge with even strokes, and exactly the same number of strokes are made for each cut of the blade to maintain balance.
The most important thing is to clean regularly with a degreasing agent and a brass brush, as dirt that accumulates on the blade increases friction and heat, which dulls the edge. In addition, it is important to avoid continuing to work as soon as the first signs of dullness are noticed.
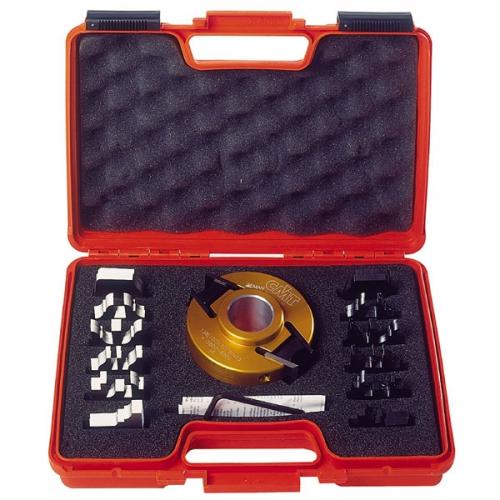
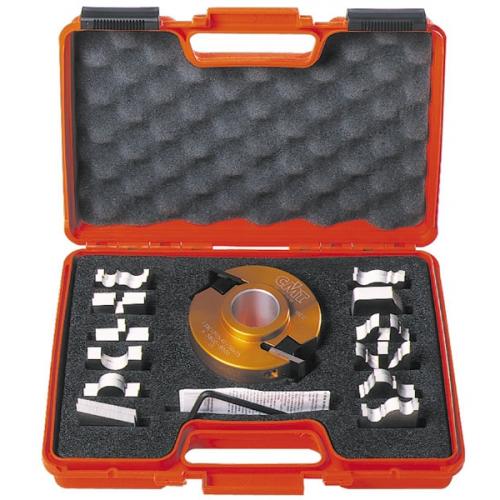
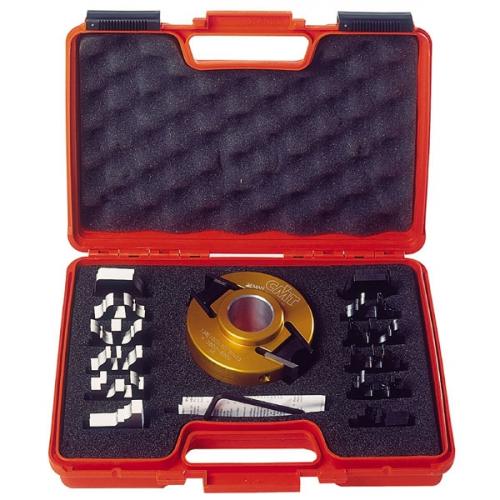
Blades should be stored separately from each other, for example in their original packaging, in self-made wooden stands or in foam inserts. The rattling of blades against each other can cause fractures in the brittle but hard carbide.
Never sharpen the profile side of the blade, as this will destroy the blade geometry. Also avoid excessive force and overheating, as well as uneven sharpening, which will cause the blade to vibrate during use.
100% Trustworthy online store with history
Expert customer service
Fast deliveries
Large selection directly from stock
No middlemen - save on the price






 Suomeksi
 På Svenska