Login
Login
Shipping Country
Super CLEARANCE CAMPAIGN - Selected tools and accessories with Super Special prices! - CHECK HERE
READ MORE
Login
The primary way to prevent burning and darkening of the wood surface during laser cutting is to use an efficient air assist (Air Assist) that blows smoke and flames away from the cutting area. Other critical factors include protecting the material with masking tape, optimizing cutting parameters (speed and power), precise focus, and using a clean honeycomb table that minimizes laser beam reflections to the underside of the wood. With the right settings, the laser cutter leaves behind a clean edge that requires minimal post-processing.
Laser cutting has revolutionized the precision of woodworking, but a typical challenge is the darkening and sooting of the wood surface during the cutting process. At Nettiverstaa, we understand the properties of wood as a material and know how to utilize modern technology to achieve optimal results.
In this article, we will look at technical solutions that can help you achieve the cleanest possible laser cutting results without charring the material. It is a combination of several factors. When these areas are under control, the laser cutter acts as a precise tool that achieves a neat and professional finish.
Laser cutting is a thermal process in which a laser beam heats the surface of the wood to such a high temperature that the material gasifies, or sublimates. The actual cutting process is based on this high thermal energy.
The challenge is the natural components contained in wood, such as resin, oils and lignin. Due to the thermal effect of the laser, these substances burn and form soot and smoke. If combustion products remain around the cut point or the heat spreads too widely, the surface of the wood darkens. This is combustion waste that settles back onto the surface of the wood or is absorbed into the fibers. The glues used in the manufacture of plywood can also react to heat differently than pure wood, which places additional requirements on the controls.
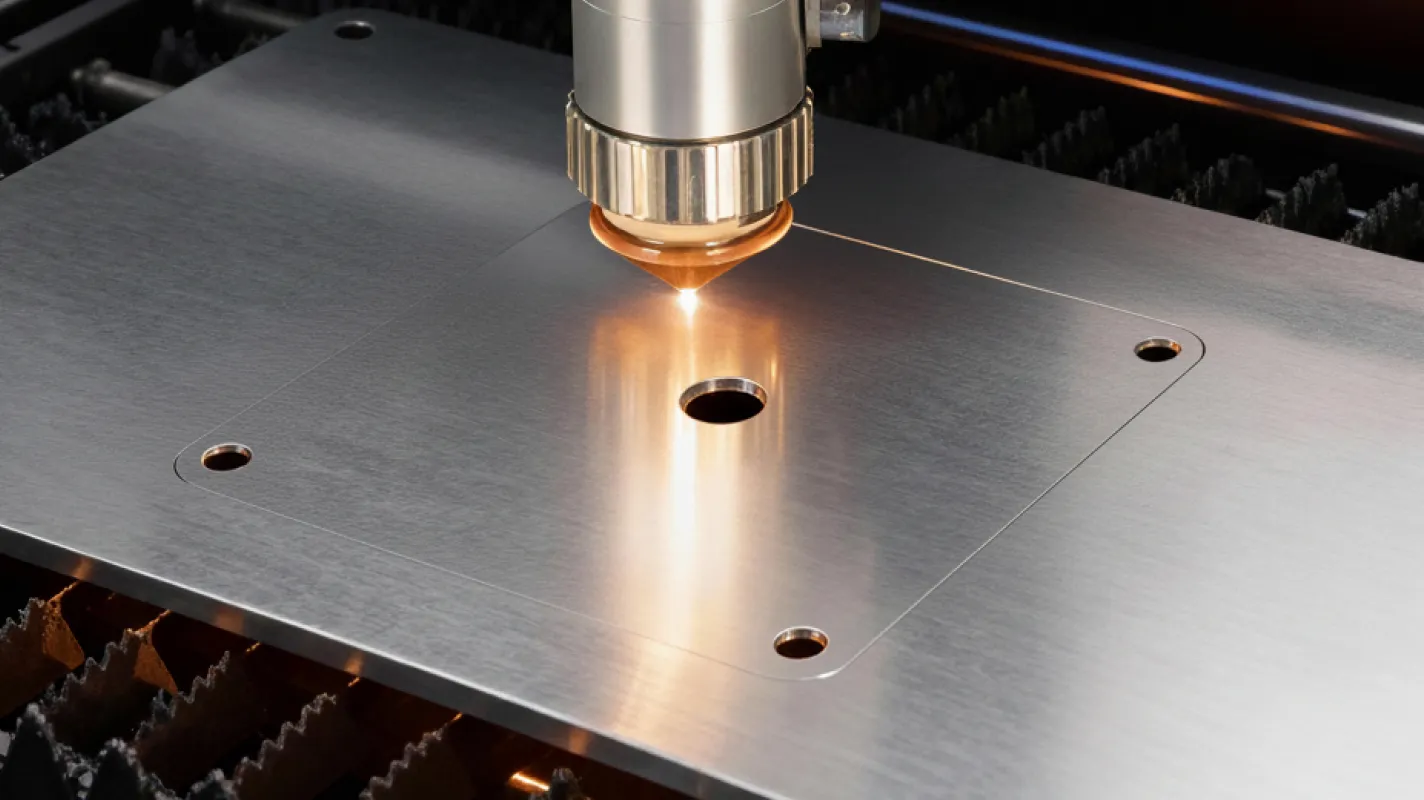
The key factor in improving the cut result is the Air Assist, a nozzle mounted on the laser head that blows a continuous stream of air directly onto the focal point.
Air Assist has two critical functions: it blows smoke and gases out of the beam's path before they become sooted, and it cools the cut area, preventing the wood from catching fire. Without sufficient ventilation, heat builds up around the cut gap, causing brown burn marks.
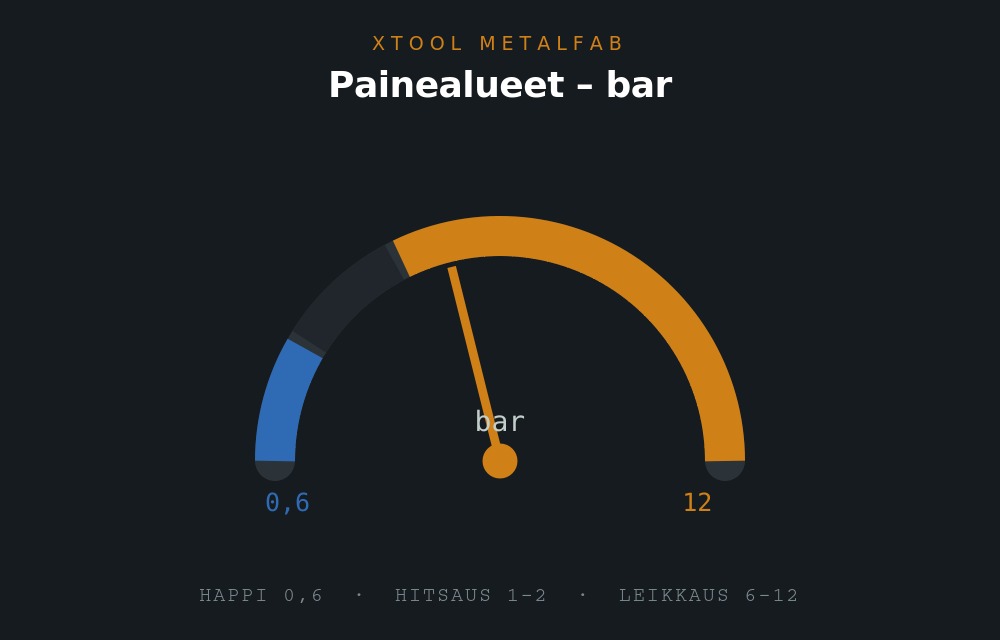
Professional-level machines often have a powerful compressor integrated. It is important to ensure that the blowing pressure is sufficient to remove smoke through the cutting groove. Efficient dust extractors and smoke extractors ensure the general cleanliness of the working area and smoke removal, while protecting the machine's optics.
Mechanical protection is an effective way to achieve a clean surface without subsequent sanding. The wood can be protected before processing with high-quality masking tape or a protective film intended for laser cutting.
The protective layer prevents soot and smoke from settling directly on the wood surface. After cutting, the tape is removed to reveal a clean surface, which is especially important with light wood species such as birch or aspen.
Things to consider when protecting:
Optimizing cutting parameters is of paramount importance. Too slow a cutting speed transfers too much heat to the surrounding material, causing charring.
The goal is to use the highest possible speed that still cuts through the material cleanly. We recommend running a test matrix with different speed and power combinations. In some cases, two fast cuts will produce a cleaner result than one slow cut, as it reduces thermal stress.
Power settings also matter. For example, instead of full power, a power setting of 80% can produce a more precise beam and less burn marks. The optimal setting leaves the cut edge dark brown without sooty carbon.
If the laser's focal point is not precisely aligned, the beam will become wider and its energy density will decrease. This will require more power or a slower speed, which increases the risk of burns. A precise beam will cut through the wood cleanly instead of burning its way through the material.
The focal point must be checked whenever the material thickness changes. In addition, regular cleaning of the optics, such as lenses and mirrors, is essential. Dirt in the lens scatters the beam and reduces the machining efficiency. Maintained equipment is a prerequisite for consistent quality.
Burning can also occur on the underside of the workpiece as a result of flashback. If the material is on a flat metal surface, the beam is reflected back and causes burn marks.
The honeycomb bed is designed to minimize contact area and prevent reflections. It also allows air to flow under the material, which improves smoke extraction. If a honeycomb bed is not available, lifting the piece off the base, for example with small supports, helps reduce darkening of the underside.
The choice of material directly affects the final result. Dense hardwoods require more power than softwoods. When choosing plywood, it is recommended to use "laser-grade" grades intended for indoor use, whose adhesives gasify cleanly.
The moisture content of the wood is also a factor to consider. Moisture requires more energy from the laser to vaporize the water, resulting in slower cutting speeds and increased charring. Dry, indoor-stored wood is the best choice. If the material requires pre-treatment, band saws are useful tools for rough shaping the blanks before laser machining.
Minor surface darkening can be easily removed with post-treatment. Light sanding with fine sandpaper (e.g. 240-400 grit) will quickly clean the surface. The use of cleaning agents such as denatured alcohol can also be effective on certain types of wood, as long as the soot is not absorbed deeper into the fibers.
To ensure a professional finish, it is recommended to use high-quality sanding machines and accessories. At Nettivarstaa you will find a wide range of solutions for finishing surfaces to ensure a well-groomed final product.
It is important to remember that every material and piece of equipment is different. Regular maintenance, correct settings and sufficient compressed air are key to achieving a clean laser cut result. If you need technical support or equipment upgrades, Nettiverstaa's experts are happy to help.
100% Trustworthy online store with history
Expert customer service
Fast deliveries
Large selection directly from stock
No middlemen - save on the price






 Suomeksi
 På Svenska