Login
Login
Shipping Country
Super CLEARANCE CAMPAIGN - Selected tools and accessories with Super Special prices! - CHECK HERE
READ MORE
Login
A band saw is one of the most versatile and important tools in the workshop. It can create both straight lines and curved shapes, and when properly adjusted, it is an invaluable aid for both hobbyists and professionals. However, it requires regular maintenance to keep it running smoothly. How often do you stop to check its condition?
When the saw mark starts to burn, the blade doesn’t follow the drawn line or the machine just feels inefficient, the finger of blame is easily pointed at the saw or the blade itself. However, the truth is often that basic maintenance has not been done. Regular maintenance not only improves the quality and accuracy of your work, but it also significantly extends the life of your machine and makes working safer.
We have put together five clear and practical maintenance tips to keep your band saw in top condition. Basics that will ensure your investment serves you reliably year after year.
No matter how sturdy the machine is, a dull or dirty blade will only make it an efficient firewood cutter. The condition of the blade directly affects the accuracy, speed and safety of the sawing. So don't make any adjustments here, just do the job properly once.
When sawing, especially on fresh wood, the blade inevitably accumulates resin and dust. This sticky mixture increases friction, heats the blade and makes the saw mark untidy and burnt. The heated blade loses tension and easily starts to "swim", making it impossible to follow a straight line.
A blade that is too loose will flutter and make curved cuts a gamble. A blade that is too tight will strain the machine’s bearings, wheels, and the blade itself, which can lead to it breaking in the middle of the job – and no one wants that. The right tension is firm, but not overly so.
Workshop tip: Once the blade is installed, press it lightly with your finger from the side. It should give about 5-6 mm. This is a good rule of thumb for most blades, but always check your machine's manual for the manufacturer's recommendation. Don't forget to loosen the blade at the end of the work day - it will save both the blade and the machine's tires ;)
Sawing with a dull blade is frustrating, slow, and downright dangerous. When you have to force wood through the saw, it’s time to admit the truth and replace the blade. Here are some clear signs that your old blade has reached the end of its life:
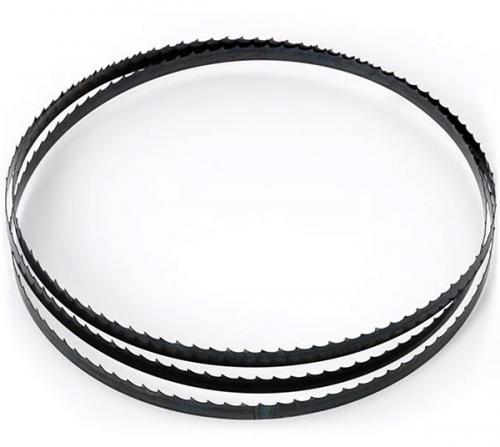
When these marks are reached, it's time to replace your band saw blade with a new, sharp one . It's a small investment in the quality of your work and your own peace of mind.
A layer of sawdust inside the machine is not a sign of diligence, but of neglected maintenance. Don't let it fool you. Dust and sawdust penetrate everywhere, where they cause wear, impair the machine's operation and can even eventually cause dangerous situations. So let's keep the places clean.
Always connect a proper dust extractor to your band saw. This is an absolute prerequisite for clean working and machine maintenance. However, a vacuum cleaner does not remove everything, so regular manual cleaning is still necessary.
The rubber surfaces, or "tires," of the rim wheels center the blade and ensure it runs smoothly. If the tires are dirty or worn, the blade will not run straight and the cut will be uneven.
Even if the blade is new and the machine is clean, poorly adjusted guides or a tilted table will make precise work impossible. These adjustments are not "set and forget" and should be checked regularly, especially when changing blades. Take a moment to make adjustments - it will pay off many times over in terms of quality of work and saving you time.
There are usually two sets of blade guides: an upper and a lower set. Both consist of side guides and a support bearing at the back, and their sole function is to keep the blade in a straight line during the cut. Always remember to adjust the upper guides as close to the surface of the workpiece as possible to minimize the amount of flexing the blade can cause.
Side guides (often ball bearings or blocks) prevent the blade from twisting. The most important thing to remember is that they should not squeeze the blade, only support it.
The support bearing, as its name suggests, supports the blade from behind and prevents it from sagging backwards when you feed the wood into the saw. You should also leave a small gap between it and the back of the blade.
Rule of thumb: Leave a gap about the thickness of a banknote between the support bearing and the back of the blade. The bearing should only rotate when you start feeding wood into the saw. If it rotates all the time, it is too close and will wear both itself and the blade unnecessarily.
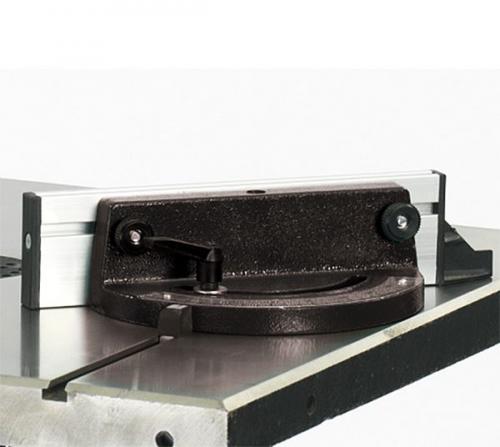
This may sound obvious, but surprisingly often the cause of problems can be found in a tilted table. Use a square to check that the saw table is at exactly 90 degrees to the blade. If it is not, your cuts will inevitably be skewed.
At the same time, check that the 90-degree stop on the table is in place. This way, you can reliably return the table to a straight position after tilting without any guesswork. When the basic straightness is in order, precise mitre cuts are much easier to make with a quality angle fence .
Good maintenance is not a one-time project, but an ongoing routine. When you make certain checks a habit, they don’t even feel like work anymore. With the following simple checklist, you can keep your band saw in top condition and avoid the most frustrating surprises of all – the ones that strike in the middle of the most important work.
We have compiled the most important maintenance procedures and recommended inspection intervals in this table. Make this a habit and your band saw will be a breeze to work with, and you can trust your machine 100%.
Checking blade tension
Interval: Before each use
Checking the distance between the blade guides
Interval: Before each use, monthly/as needed
General cleaning of the casing (housings)
Time interval: Weekly
Cleaning the blade from resin
Interval: Monthly / as needed
Cleaning and checking the condition of rim wheels
Interval: Monthly / as needed
Table angle check (90°)
Interval: Monthly / as needed
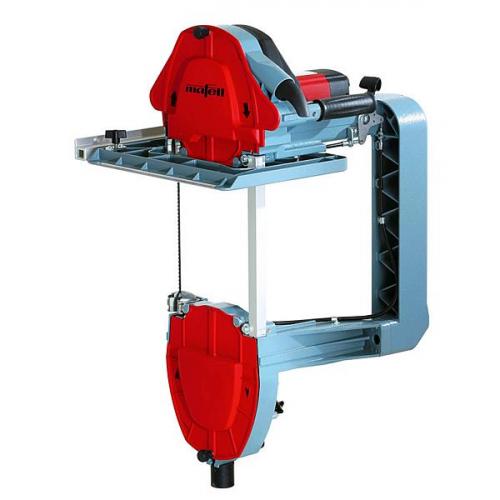
Listen to your machine. You will quickly learn its normal operating sounds and behavior. If something sounds or feels strange – whether it’s a vibration, a squeak or a bang – stop working and find out the cause. Preventive action is always better than fixing a broken part.
Whether you use a sturdy workshop saw or a precision-demanding portable band saw , the same principles apply. A properly maintained and adjusted band saw is not only accurate and efficient, but also a safe workmate that will serve you reliably year after year.
100% Trustworthy online store with history
Expert customer service
Fast deliveries
Large selection directly from stock
No middlemen - save on the price






 Suomeksi
 På Svenska